Working with the X-Rite ColorChecker PassportOne of the least understood aspects of photography is color correction. Even experienced photographers sometimes get it wrong or choose not to pay attention to when shooting in difficult or less than perfect lighting conditions. However color correction is one of the main aspects of getting the perfect color for image and something that pro photographers,who actually need to print their images, consider as a part of the whole workflow. Read more...
Five features on your DSLR camera that you probably never useYour camera comes with three handy metering systems. If you are using a Canon system camera yours have four to boast. Thus far you probably have been using only one – matrix metering; which was set as default in the camera. While I have nothing against this very intelligent and useful metering mode, it is unfortunately, however, not the best for all situations. In a tricky lighting situation, where you need to manually assign something in the scene as middle-grey, matrix metering shouldn’t be the obvious choice. Read more...
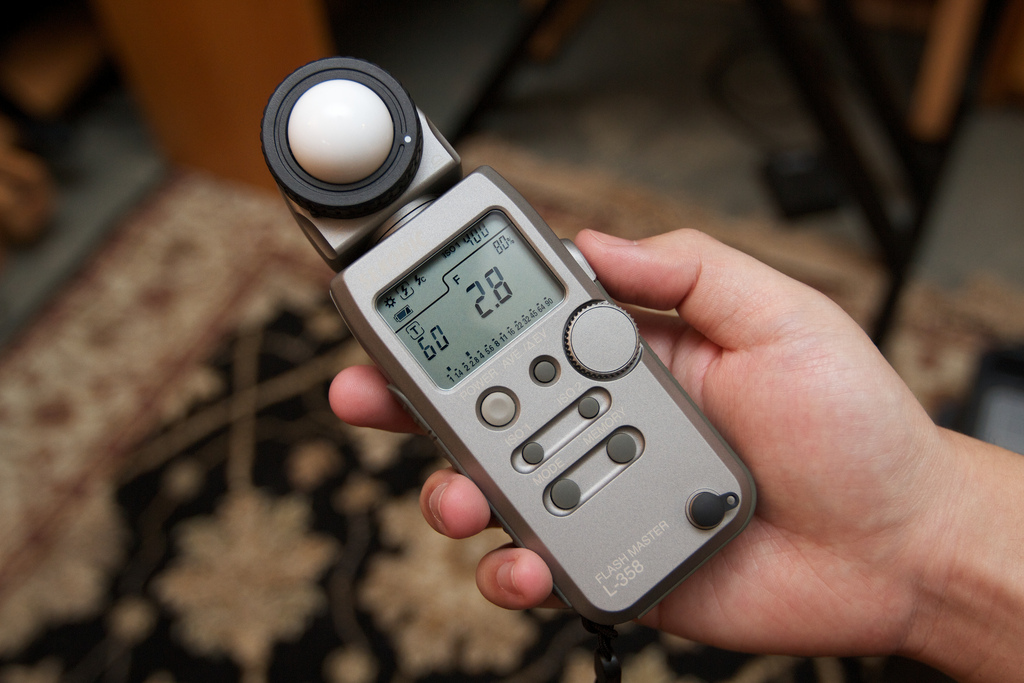
Advantages of a hand-held light meter over a built-in light meterIn one of the previous articles on this website I discussed in detail the many different metering modes and their advantages. Metering modes are what tells the camera what exposure value to use for a right exposure of a given scene. As you are already aware, there are any different types of metering modes. None of these are suitable for all situations though. Some photographers are particularly biased about certain metering modes. I in particular like the spot metering mode and normally my camera is always set to shoot on spot metering. The main reason is that being I can accurately select a spot that is middle-grey in the scene and set my exposure based on that. Read more...
Understanding camera metering modesAs a photographer, digital or otherwise, one thing that you need to have a good idea of is the camera metering mode. By metering, I am referring to the process of assessing the light that is reflected off a surface and then the evaluation of the right exposure values for a properly exposed picture. All modern digital cameras employ the reflected light method when it comes to metering a scene; meaning, it actually measures how much light is reflected and not how much light falls on it. This process has its own limitations, but, we shall not be delving deeper into that. Here, however, we shall be looking at how to use the right metering mode for a given scene. Read more...
Using Circular Polarizing Filter (a C-PL Filter)Photographers shooting landscapes in broad daylight or shooting objects with shiny metallic surfaces or may be shooting at places with a lot of reflective material around, have something common to counter for – glare. Glares from window glass, shop displays, automobiles lined up in a car show etc. are all potential nightmares to shoot. If you have your blinkies (highlight indicators) turned on, you are likely to be warned that you are passed the red line with your highlights. While there are some photographers, who don’t quite appreciate the concept of cutting down glares and reflections, for most these are quite offending. For the latter group of photographers, circular polarizers are the only way to cut down glare. Read more...
Image Stabilization: Why It Matters, Types and How to Use

In the overall history of camera technology image stabilization is a rather recent development. Image stabilized lenses did not appear up until 1995 when Canon introduced the EF 75-300mm f/4 – 5.6 IS - the first image stabilized lens. IS or Image Stabilization is the acronym that Canon uses to refer to this technology. The technology was actually first seen on a previous lens, also made by Canon, the EF 300mm f/2.8L IS USM. This lens however did not reach the market up until 1999 which made the 75-300mm the first commercially produced image stabilized lens the world has seen.

Nikon calls this technology VR or Vibration Reduction. Other manufacturers use different other acronyms to label this technology. However, at the end of the day, they all mean the exact same thing. Though, in this case it is fair to say that all technologies are not the same. In fact all lenses are not optically stabilized either. There are some manufacturers who prefer to stabilize the sensor inside the camera rather than the lens! This happened because when image stabilization was developed digital sensors were not around and it would have meant either moving the physical film or the sensor. Canon and Nikon devised it was much easier to move the focusing elements inside the lens than moving the actual film.

Okay. Now we need to have a deeper understanding of how image stabilization works and why most professional and serious enthusiasts prefer to pay more for image stabilized lenses. Read more...
5 Tips to Choose an External Flash

Congratulations on buying your first DSLR! Now you are well and truly on the road to photographic nirvana! Your DSLR is a very powerful tool for making images. With it you can control the amount of light reaching the sensor, thus, allowing you to balance an exposure, pursue creative ways to express yourself through your images and in essence capturing more than just light inside the small box. For all practical reasons a DSLR is the only camera you will ever need.

But there are more to good compositions than just the camera. A good composition involves not only a good subject matter or a moment but also good light and of course clever use of all the elements to put together an image. Literally, you don’t take an image, you make it.

Good light is unfortunately something which is not within the control of a photographer. However, if you are really good with a camera and have an astute sense of lighting, you will be able to make better use of the available light than most. But even the most experienced photographer, at times, require additional lighting tools to fine tune a composition. In this article we shall be looking at one such tool - speedlight or an external flash.

Read more...
Everything You Wanted To Know About Neutral Density Filters

Neutral density filters are primarily used for balancing exposures. By balancing exposure, I mean adjusting the amount of light that enters the lens so that the scene appears uniformly lit across the frame and every inch of it is exposed properly. A properly balanced image will show a histogram that is clustered more towards the middle of the graph. Too much on the right and you have an over-exposed image and too much on the left means you have under-exposed.

Technically speaking, an under-exposed image is better than an over-exposed one, because you would still be able to salvage some details from an under-exposed image. You would need to shoot in RAW for that. However, getting the exposure correct in-camera is the best option by far.

The reason these filters are called as neutral is because they stop light across the spectrum equally, without any bias. Consider them as shades for your camera lens.

Read more...