In many parts of the world the weather changes around this time of the year. It’s the time of snow-filled landscapes, hot chocolate, fresh cookies, cuddling in front of fire, building a snowman and playing defend-the-castle in the fresh powdery snow. The air is filled with Christmas chimes and the sounds of laughter that a hard earned holiday brings. The is the time of togetherness and as the old adage goes, happiness doubles when you share it with people you love and care for. No wonder camera owners, who otherwise wouldn’t care, suddenly remember their long-forgotten pals and bring them out in the light of day. If you are one of those (or even if you are not) here are a few tips to help you make some memorable photos this season, especially when you are photographing in the snow.

Making photos in the snow takes a special approach
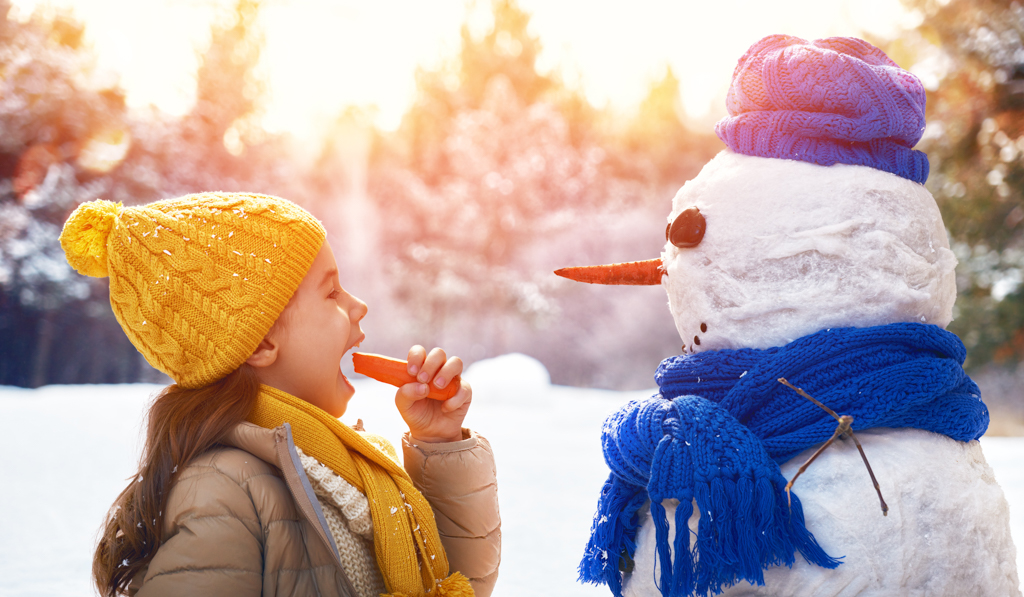
Kids playing in the snow
With your kids playing in the snow this is the perfect opportunity to produce some wonderful holiday photos for that empty space over the mantel. But invariably, most parents end up getting disappointing grey and underexposed photos. The snow looks like dirty mud and the faces of their children disappointingly underexposed. Why do this happen?
The reason is a bit technical. But I will explain it as lucidly as I can. This happens because of the light meter that’s inside your camera. It measures light reflected off of a surface. By default it has been set to make everything look average grey or middle grey (also known as 18% gray). When it sees something like a snow filled landscape it presumes that the scene is too bright and accordingly the meter underexposes the scene to make it average (middle grey).
Set the exposure manually or use Exposure Compensation
This is invariably the result when your camera is set to Auto mode (the Green mode). In the Auto mode the exposure settings are not in your control. If you use a camera that has Exposure Compensation or one of the manual modes, change your shooting mode. Set the exposure manually. Overexpose by at least one to two stops. Your photos are going to look a lot better. The snow will appear bright white, true to its natural color.
Photographing a Snowy Landscape on a Bright Sunny Day
Photographing such a scene warrants that you use the Sunny 16 Rule. This is a rule of exposure that was once used predominantly during the film days. It is still relevant in the digital era. Back then photographers had no way to check the back of their cameras to find out how the exposure turned out. There was no instant gratification. Thus, over hundreds and thousands of tests a thumb rule was deduced. The rule was to use an aperture of f/16. Set the ISO to 100 and then the shutter speed to the inverse of the ISO, i.e., 1/100 second.

Use the Sunny 16 Rule when shooting in snow in bright sunny conditions
Photographing Falling Snow
There is a certain sense of romance watching tender flakes of snow falling from the sky. Capturing a photograph of such a scene, however, is an altogether different thing. The most important thing to remember is to adjust the shutter speed to the speed of the falling snow. If your shutter speed is too slow all you will get is a blurry stream of snow with no detail in the photo. That’s ideally not what you want. Instead, shoot wide open and with a faster shutter speed. Faster shutter speeds will literally ‘freeze’ the snow in mid-air.
Wider apertures also ensure that the image is not under-exposed. Wider aperture would produce a very thin Depth of Field (DoF). Thus, it is necessary that you focus at the optimum distance. There will be frames where snow in the foreground will appear as large white blobs. Unless you have anything in the plane of focus which could be obscured by such blobs, this is fine. Several exposures are necessary to get one or two photos that are just about right.
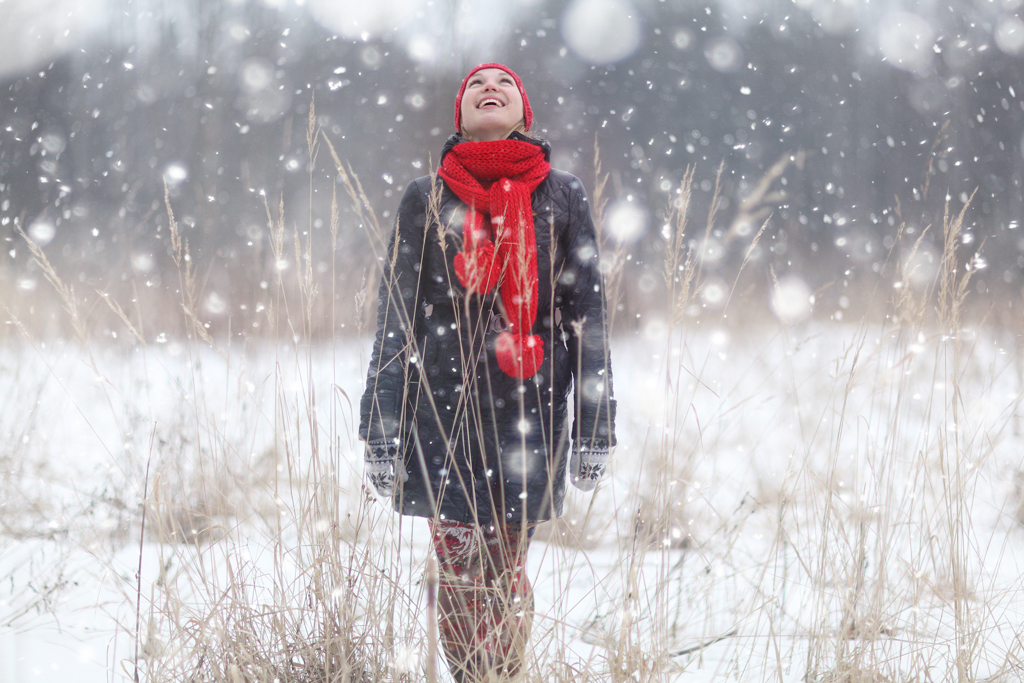
You need faster shutter speed for freezing falling snow
Photographing a Foggy and Snowy Landscape
Such photos on their own tend to be extremely dull and boring. The best way to spice things up is by introducing a dash of colors in the mundane canvas of white snow. The brighter the better. Red works very well and so does yellow and pink. Experiment with anything and everything that catches your fancy. A Street light, a lantern emanating warm glowing light, a red dress, anything that can create a bit of contrast and a point of interest in the frame.

Use points of interest, preferably colorful, in your composition to contrast with the bland setting
Some General Tips on photographing in the snow: Leave your Camera cold
Never ever keep your camera inside your jacket pocket or inside a bag to keep it warm. Keeping it warm does ensure that the batteries don’t drain out quicker than they should, however, believe me when I say this, this is a classic amateur mistake. Even pros photographing in the snow for the first time do this. They realize it only when it’s too late. Why? The thing is, the temperature difference between the inside of the jacket / bag and outside is quite a bit. When you pull out your camera to meet the freezing sub-zero temperatures condensation happens instantly on the lens’ front end.
Condensation could also happen inside the camera. It could easily damage the delicate internal wiring. It’s the same thing as stepping out of an air-conditioned room on a sultry hot day. There will be condensation on your spectacles instantly. Condensation inside a camera containing delicate electronic parts isn’t a great idea. If you are worried about draining batteries carry freshly charged spares.
Don’t walk into a scene before photographing it
Don’t walk into a scene before photographing it. This, however, happens more times than none. How would you feel if a perfectly taken landscape photo of yours happen to have your own footprints at the bottom corner? One more thing, leave a spot exactly as you found it. Especially if you are travelling in a group and you happen to be the first who discovered the spot. Give others an opportunity to photograph it as well.
Wear mittens / gloves which have removable fingertips
This is important. You don’t want to remove your gloves frequently in a bitter cold environment. In anyways you can never hope to adjust the camera settings with your gloves / mittens on either. The next best option would be to use ones with removable fingers.
Carry freshly charged batteries
A lithium ion battery has enough juice for about a day of shooting. Unless of course you have the habit of shooting in continuous high mode, use the built-in flash and or the back LCD screen too often. These are tips to conserve power in your camera batteries. Regardless, when photographing in the snow and in general cold weather, you are likely to run out of power much quicker. Thus, it is a great idea to carry spare freshly charged batteries.
Check the weather before heading out to photograph
One hassle of photographing in the snow is the weather. Always research about the weather in advance. This won’t be necessary if you are shooting in your own backyard or at least have a shelter at a running distance just in case the weather turns bad. However, if you are the kind inspired by Robert Frost and plan to trek to a desolate place to make really special photos, check the weather first.

Rajib Mukherjee
Latest posts by Rajib Mukherjee (see all)
- How to Pick the Best Shooting Mode among Auto, S, A, Manual in any Situation - July 20, 2017
- Camera Settings Presets for Shooting Different Scenes - July 11, 2017
- What to Discuss with Client Before the Photo Shooting - July 6, 2017