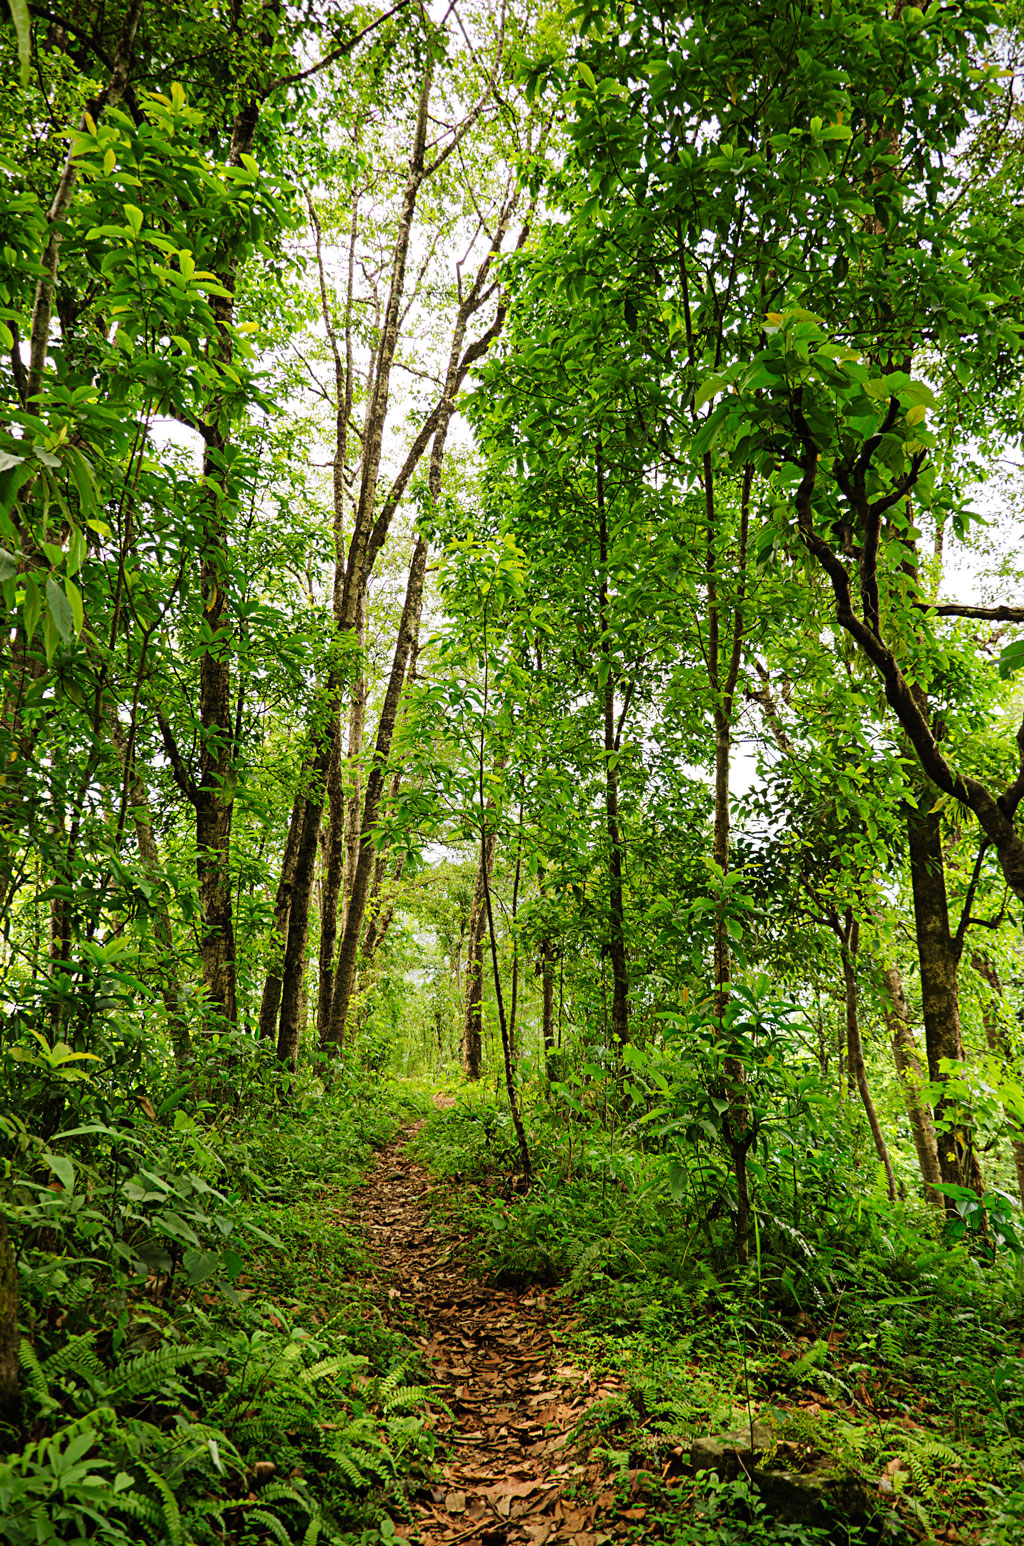
Post processing is a key aspect of your photography workflow. It is the final ingredient that makes an image pop from the initial shot you had taken. First rule of photography, that is if you wish to post process afterwards, is to shoot in RAW. Shooting in RAW allows you to retain all the basic image data without losing them through an on-camera development process.
Adobe’s Lightroom is a very powerful image processing tool. Although not as powerful as Photoshop, it still has enough tools for you to make a whole array of global as well as local adjustments to make an image really pop. Let’s talk about these global adjustments in this article.
The first of the global adjustments is using the lens profile corrections. Scroll down all the way to Lens Corrections and check ‘Enable Profile Corrections’ and ‘Remove Chromatic Aberrations’. This should take care of the basic corrections. Chromatic aberrations are likely to be present in images that have a lot of contrast, like in this case.
Next, move to the Tone correction option. One thing that you need to keep in mind is that there is no hard and fast rule to post-processing in Lightroom. Everything depends on what the requirements are. In product photography, especially, you will be given clear instructions as to what exactly is required. You can take that client guideline as a starting point and then move towards building an image, piece by piece. Depending on what you envision, you can deliberately use low-key lighting and associated post-processing techniques in order to make an image or do the exact opposite of it depending on the requirement.
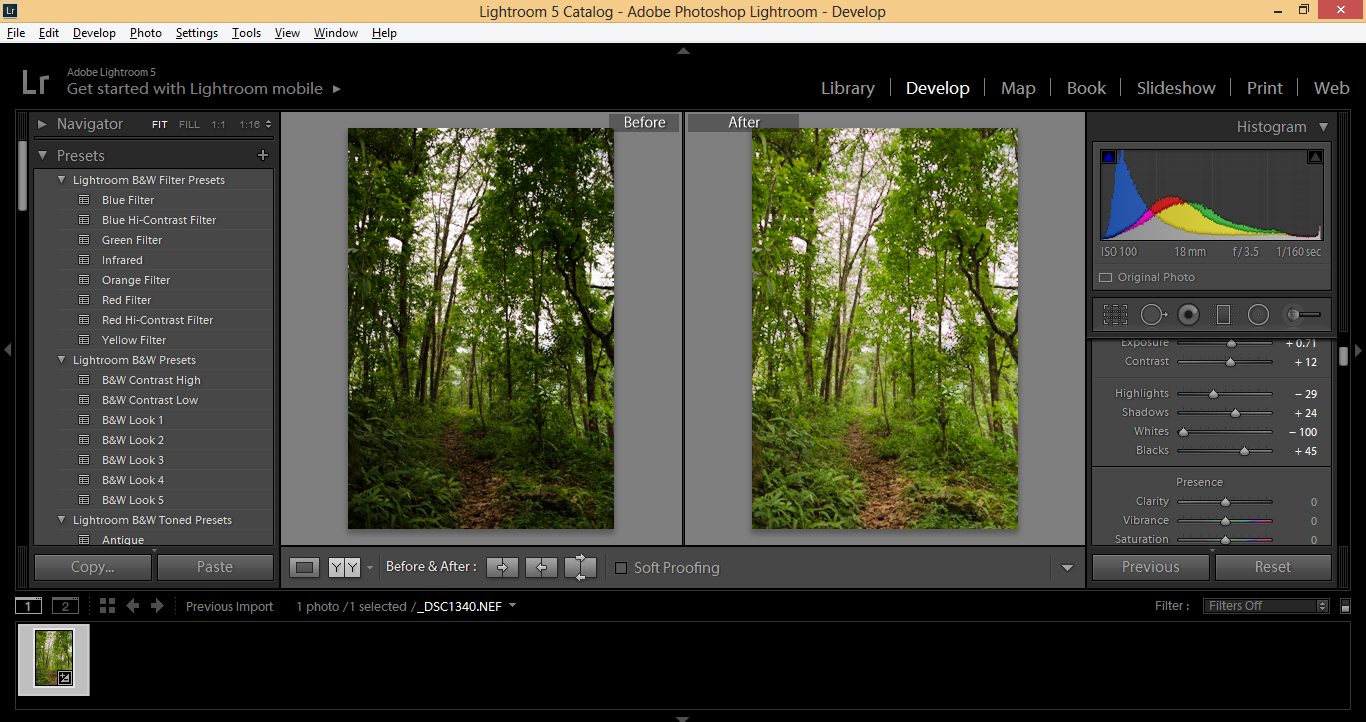
In this case, however, the nature of the photograph requires no such major changes. As such I can go in the direction I feel like with the image. Ok, moving on to the tone correction bit, the first thing that I will do is drag the exposure slider to the right to increase the exposure. Not too much, mind it, just a bit so that the colors pop a little. I will also drag the contrast slider to the right too, about +12 to ensure that there is a bit more contrast in the image.
The next thing is the Highlights and the Shadows slider. Again, there is no formula, simply, adjust them as per your taste. I’ll drag the Highlights slider towards left to something around -29. Next up is the Shadows slider. Let me remind you,these are just the global adjustments to animage and should take you no more than a couple of minutes to complete. Local adjustments, on the other hand will take longer. I for one do not believe in too much post-processing and always attempt to get an image as correct as possible in camera. This leaves me with time to shoot more.
The Shadows slider was pushed to the right just a bit to bring out some details. Whites was pulled down all the way to the left and blacks were pushed just a bit to +45. Now, the image is looking a lot better than it was before. Here are the Before and After side by side.I can now go ahead and save the metadata to the sidecar file and open the image in Photoshop for final corrections, if any.
Rajib Mukherjee
Latest posts by Rajib Mukherjee (see all)
- How to Pick the Best Shooting Mode among Auto, S, A, Manual in any Situation - July 20, 2017
- Camera Settings Presets for Shooting Different Scenes - July 11, 2017
- What to Discuss with Client Before the Photo Shooting - July 6, 2017


